PersonalHour Assembly Guide
Nano Pro Assembly Instructions
Congratulations on your Nano Pro. This high-performance reformer is designed for a smooth, reliable Pilates experience. Installation is quick and simple, typically taking 10–15 minutes.
Before you begin: Place all parts on a clean, soft surface and review each step before tightening.
If anything looks different from the photos, pause and contact PersonalHour support for clarification.
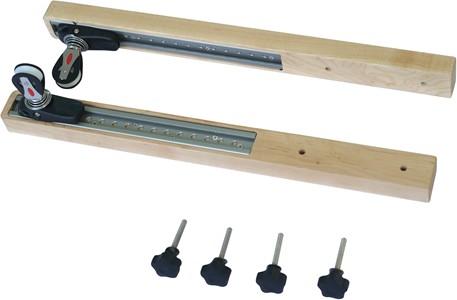
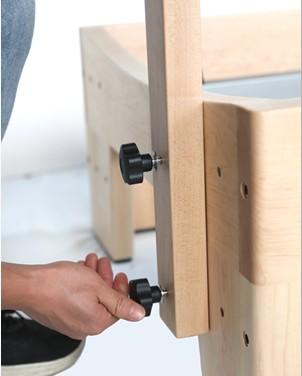
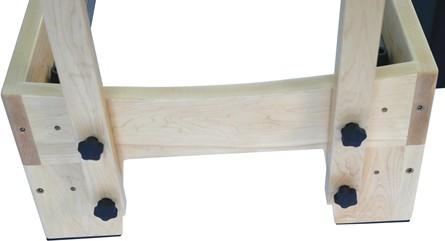
Step 1: Install the Risers
Insert the star nut into the riser bar, then place the bar into the hollow opening at the end of the reformer bed. The rope height can be adjusted through the ropeway depending on your preferred setup.
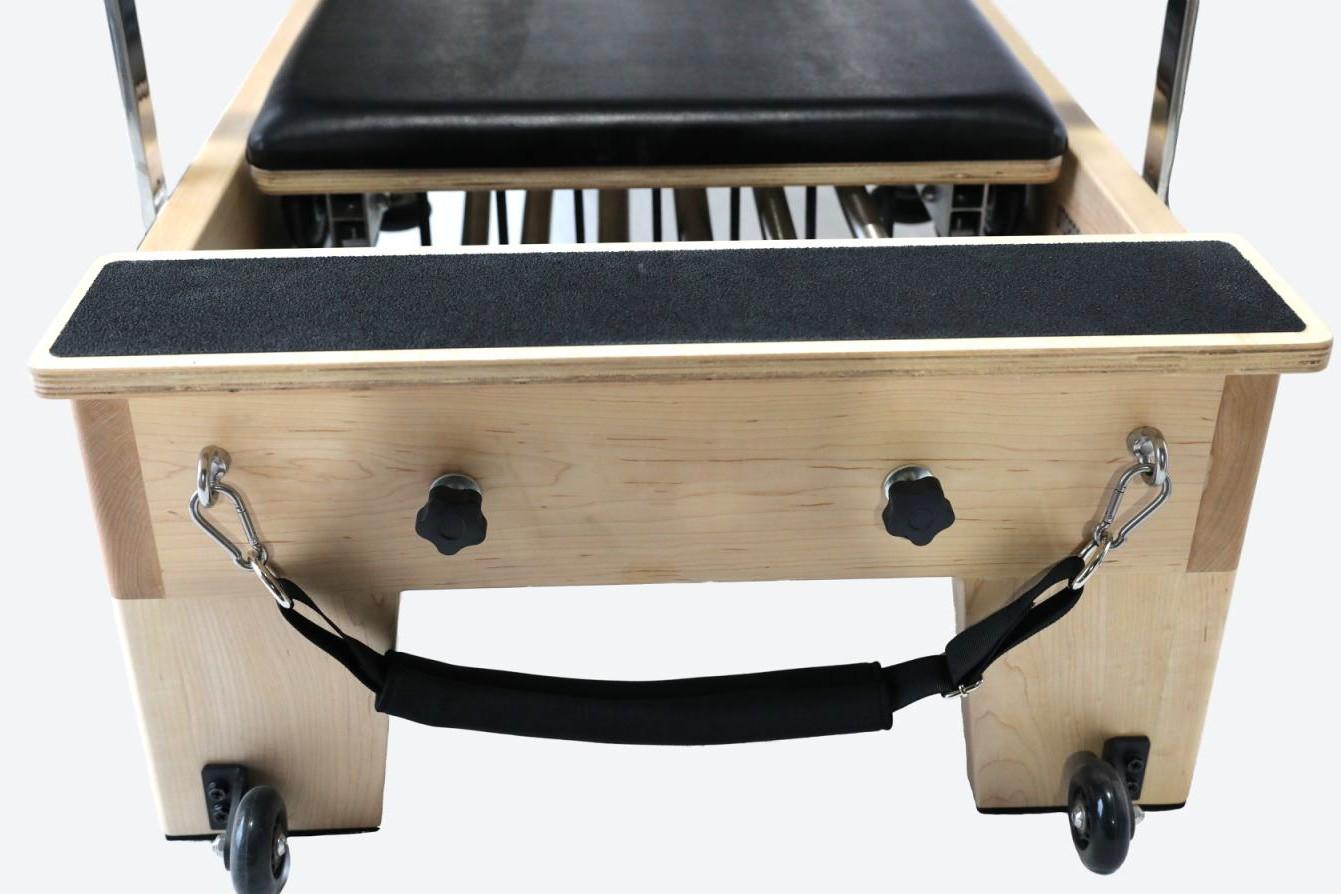
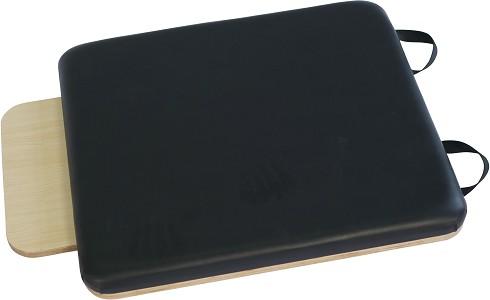
Step 2: Install the Foot Strap and Foot Pads
Foot Strap: Follow the video below to attach the foot strap correctly.
Foot Pads: Place the stainless-steel face into the slot, then tighten the nut. You may use either the hand step or soft step depending on the needs of your exercise.
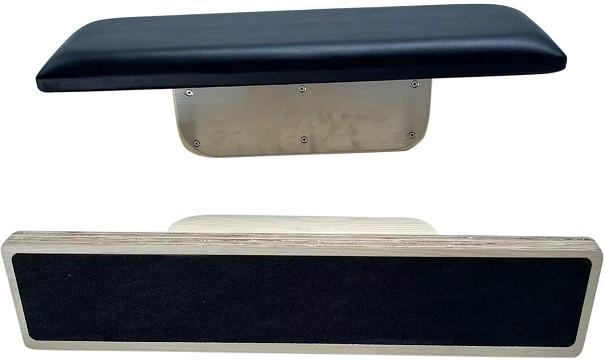
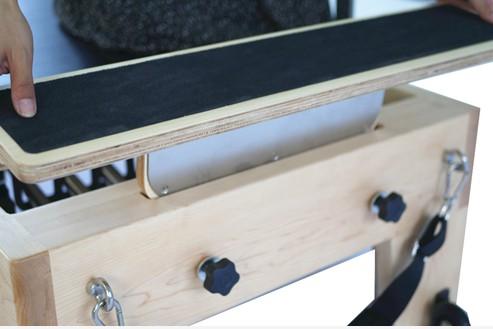
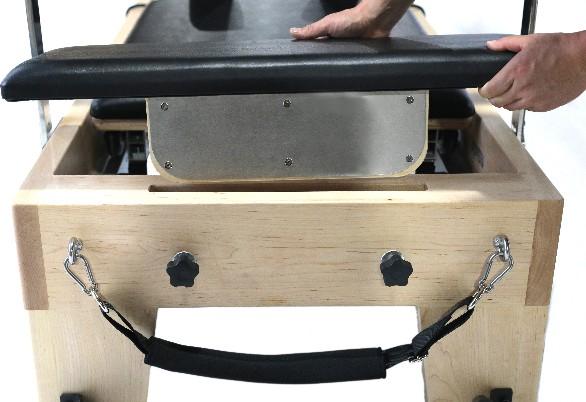
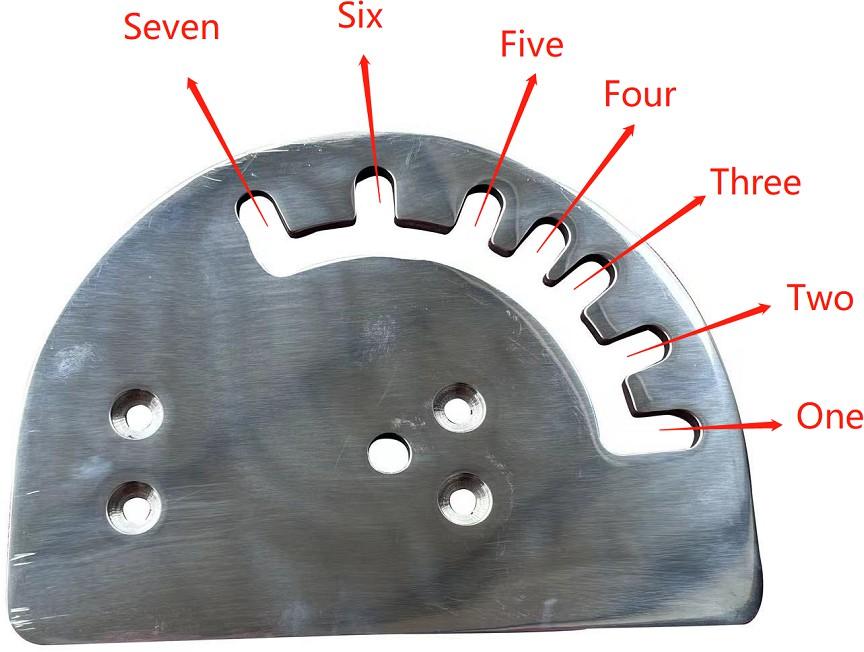
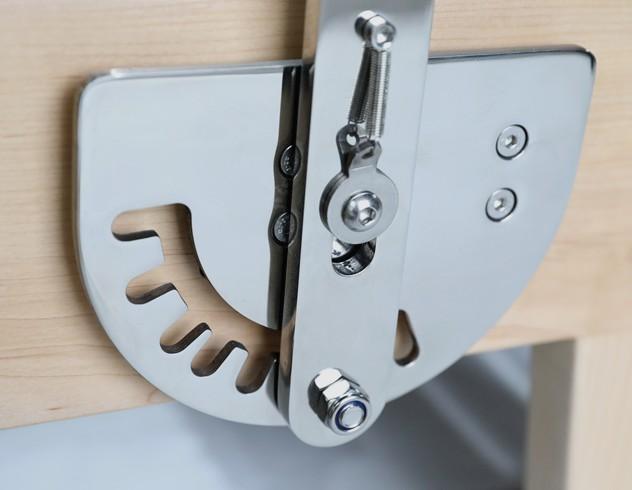
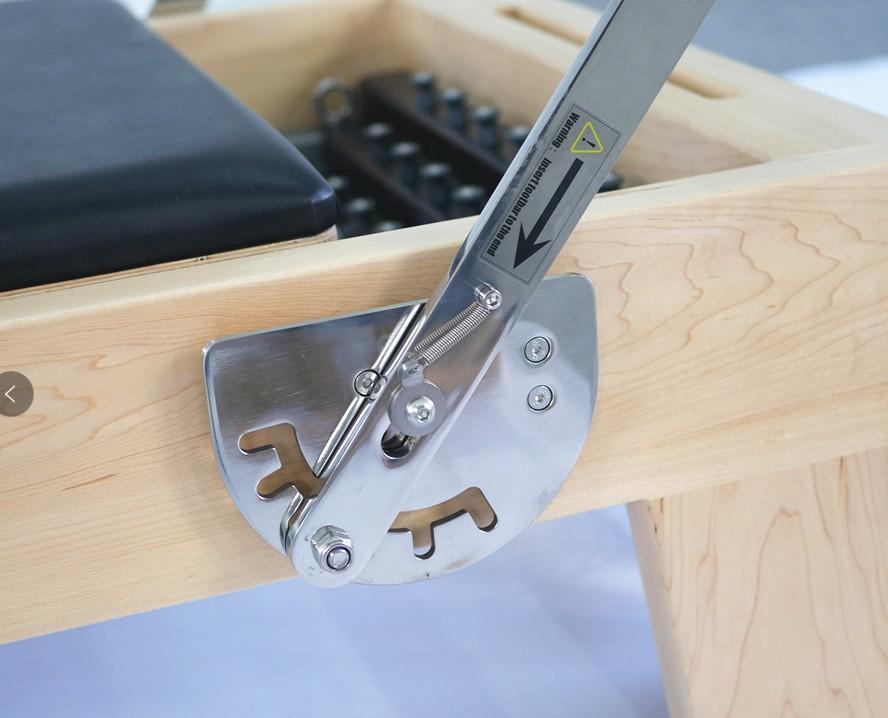
Step 3: Install the Jumpboard
Adjust the hand lever to the third gear before installing the jumpboard. This step is very important. Keep the stainless-steel face toward you, place it vertically down, then secure it with the nuts.
Important: When using the jumpboard, the hand bar must be used as support.
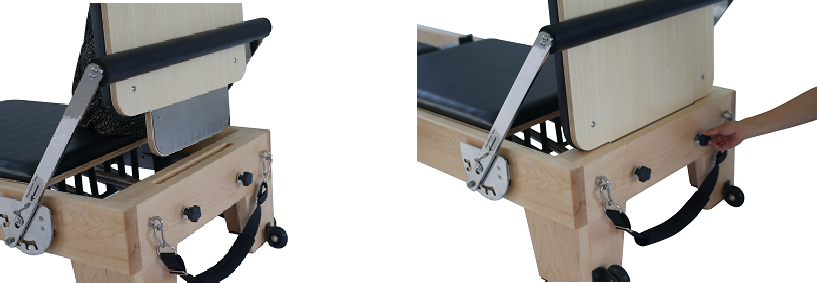
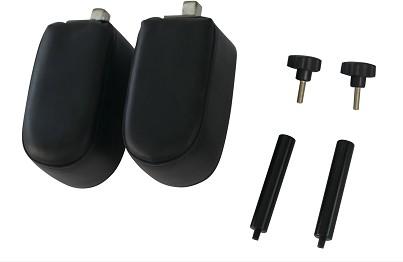
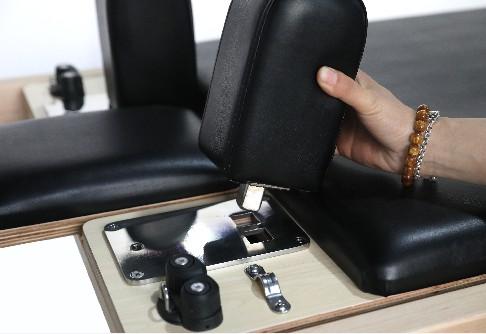
Step 4: Install the Shoulder Rests
Each shoulder rest has two holes for adjustment. Choose the position that fits your comfort and body alignment. To adjust the width, rotate the shoulder rest 180 degrees and repeat the installation process.
Fasten the nut underneath the shoulder rest, then insert the rope holder into the proper hole.

Step 5: Install the Rope System
Follow the video below to attach the rope and loops correctly. Make sure the ropes move smoothly and are not twisted before use.
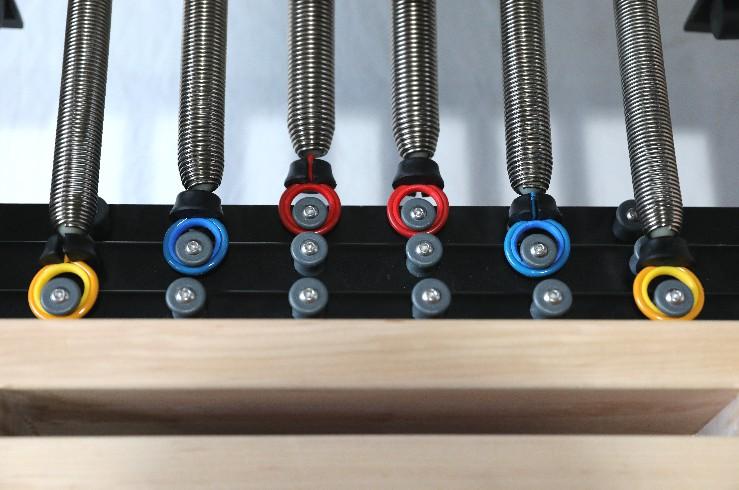
Step 6: Work with the Springs
The reformer is fitted with six springs in three resistance levels, giving you a wide range of exercise options.
- Red springs: Strong resistance × 2
- Blue springs: Medium resistance × 2
- Yellow springs: Light resistance × 2
Springs may be used in different combinations depending on the exercise. The spring bar includes three rows of hangers, allowing you to adjust the resistance feel based on your practice.
Step 7: Adjust the Handle Bar
Follow the video below to adjust the handle bar correctly. Confirm that the bar is secure before beginning exercise.
Safety Warning
During use, if you notice any screws or parts becoming loose, stop using the reformer and tighten them again before continuing your workout.
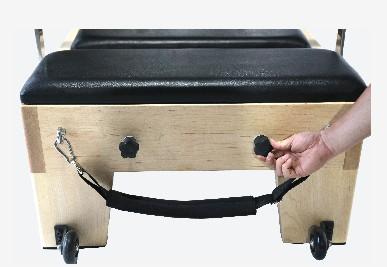
Step 8: Move Your Reformer
The Nano Pro includes two wheels for easier handling. When you need to move the reformer, lift the tail end and roll it carefully using the wheels.
You’re Ready to Start
Once all parts are installed and checked, your Nano Pro is ready for use. Always confirm screws, springs, ropes, shoulder rests, and foot bar are secure before every session.


